Welcome
When adding SkillSpring sections in the Thinkific Site Builder, use the following steps:
- Find your SkillSpring account ID
- Add a section to the site pages you want
- Configure the section to use your SkillSpring account
Finding your SkillSpring account ID
To find your SkillSpring account ID use the following steps:
Log in to the SkillSpring console at https://console.us.skillspring.com/
Navigate to the Account -> Widget Guide
Look for the "Basic Button" example
You should see code like this:
<lo-connect account="something"/>In that example, the account ID would be
something. Have that value ready.
Configuring the SkillSpring sections
After adding the SkillSpring section to your Site Builder page, you should see a preview that looks like this:

If you hover over the section, you will see the following UI and can click on the pencil to edit.

After clicking the pencil, you should see a configuration section open on the right side of the screen.
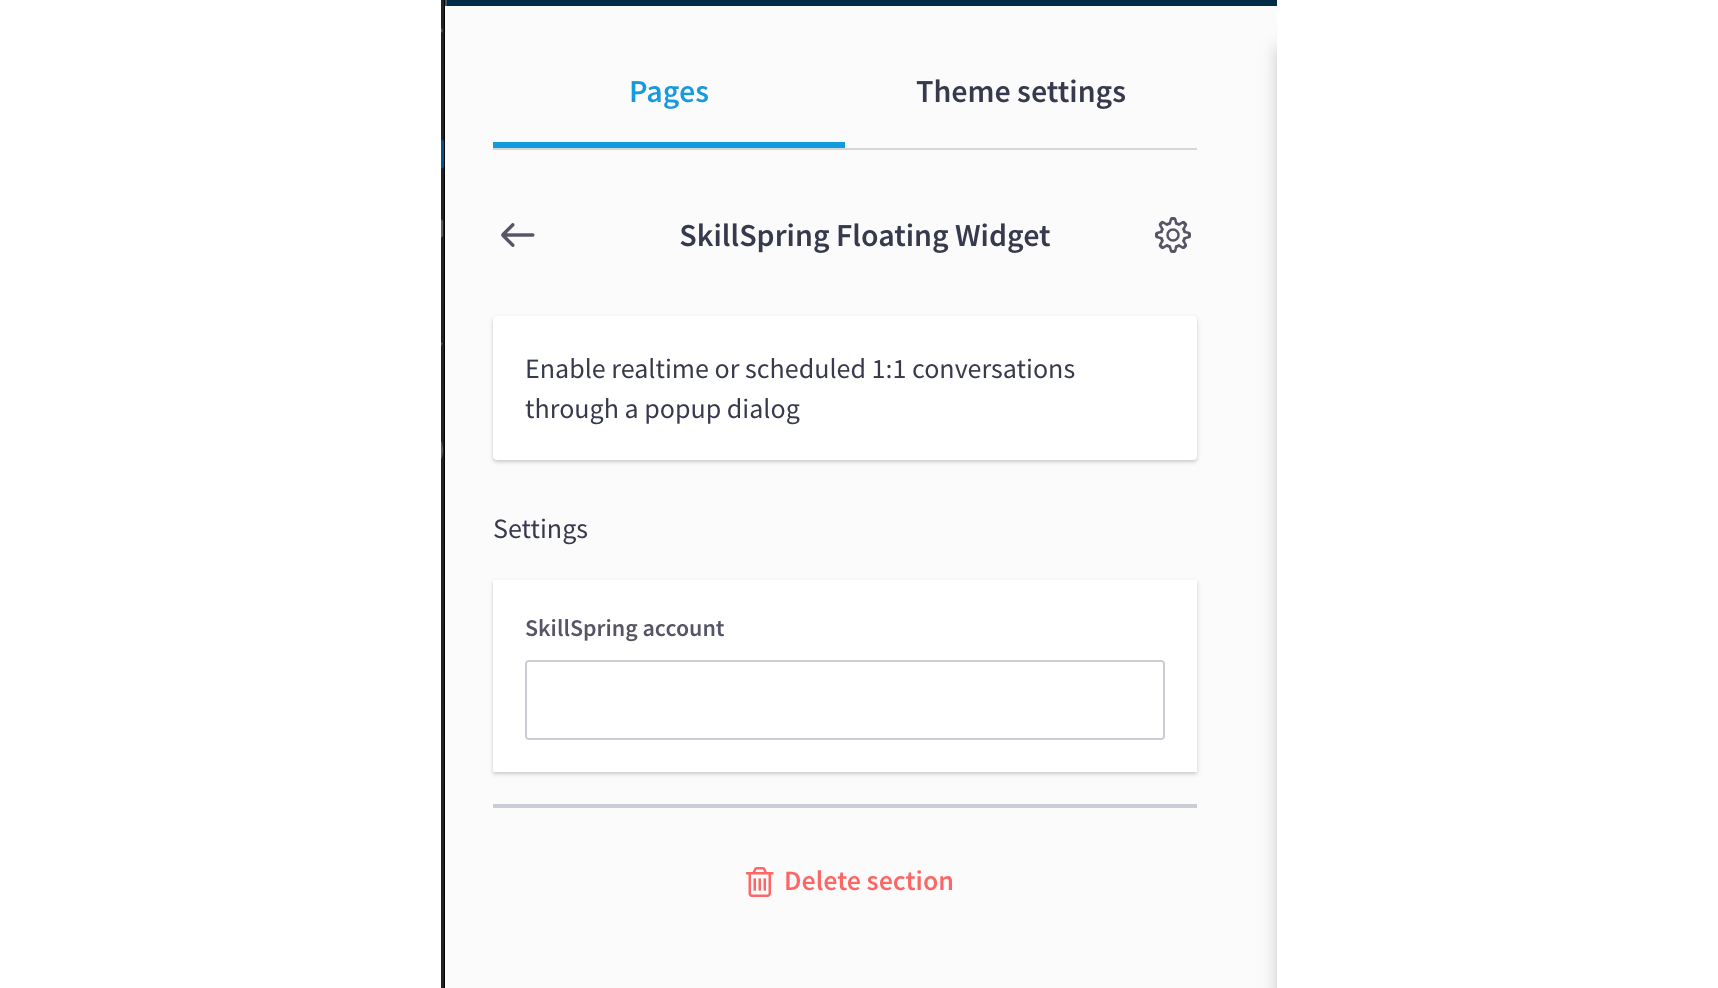
Put your SkillSpring account ID in the settings. If everything works correctly, you should see your contact availability (assuming you are adding a floating widget section).